This is my first blogged side project and it’s quite an exciting / fun one. I hope this set of posts inspires you to get involved and give it a go yourself.
What is this project?
This project is about taking a standard remote control Tamiya and replacing the electronics (in particular the receiver) with an Arduino. This then allows the introduction of custom C / C++ code so we can do anything we want with the RC car! One particular interest I have is to make the RC car remote driveable, via Wifi for example so that friends can drive around my location. Once that works there’s a future step to add a mounted phone to the car with an app that would allow friends to have a telepresence.
Why would you do this?
There’s two reasons for this, the first being that we’re currently stuck in-doors due to Coronavirus (COVID-19) and there’s nothing to do so I need something to keep my creative and constantly logic solving mind at peace. The second is that when I was 11 years old I received and built my first Tamiya, a TL01 and have missed crashing it into things. What better way to get back into that then let a robot drive into things at full speed… Okay I’ll try to avoid that but robotics and programming can create some interesting scenarios.
What’s the plan?
As of writing I’ve already dived head first into this project so firstly I need to update on my progress so far, here goes:
The first step is to get some sort of remote control car that uses electronic components that are easy to get at and modify. As I have experience with Tamiya I know exactly how these cars work and the parts included, due to the lockdown I also knew I’d enjoy the building bit so I went with the Tamiya Grasshopper. This is very much a hobbyist level entry RC car but for this projects that’s perfect, I didn’t want to spend too much and ideally I don’t actually want or need it to be fast.
I already have the radio equipment and car electronics from previously so I didn’t need to invest in more of that but this is the build list so far:
- Tamiya Grasshopper
- 1x Futaba T2ER controller (this has lasted 19 years at time of writing)
- 2x NI-CD 7.2V batteries at 1800MAH and 3000MAH
- Lots of random electronic speed controllers
- Xtra Ripmac QUAKE
- LRP Runner plus reverse digital
- Tamiya TBLE-02S
- Lots of random servos
- Futaba
- Hitec
- Futaba FP-R122JE receiver with 40Mhz green crystal
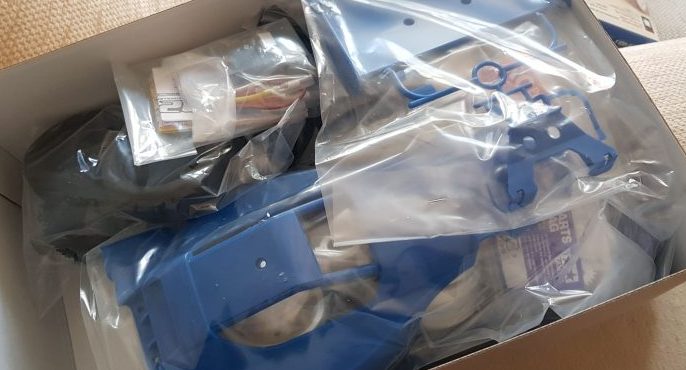
The Grasshopper arrived and I spent an afternoon reminiscing how pleasurable and often extremely frustrating it is building kit RC cars. If you’ve never done this step then I highly recommend it, starting out with plastic moulds and finishing off with quite a powerful little car is very satisfying!
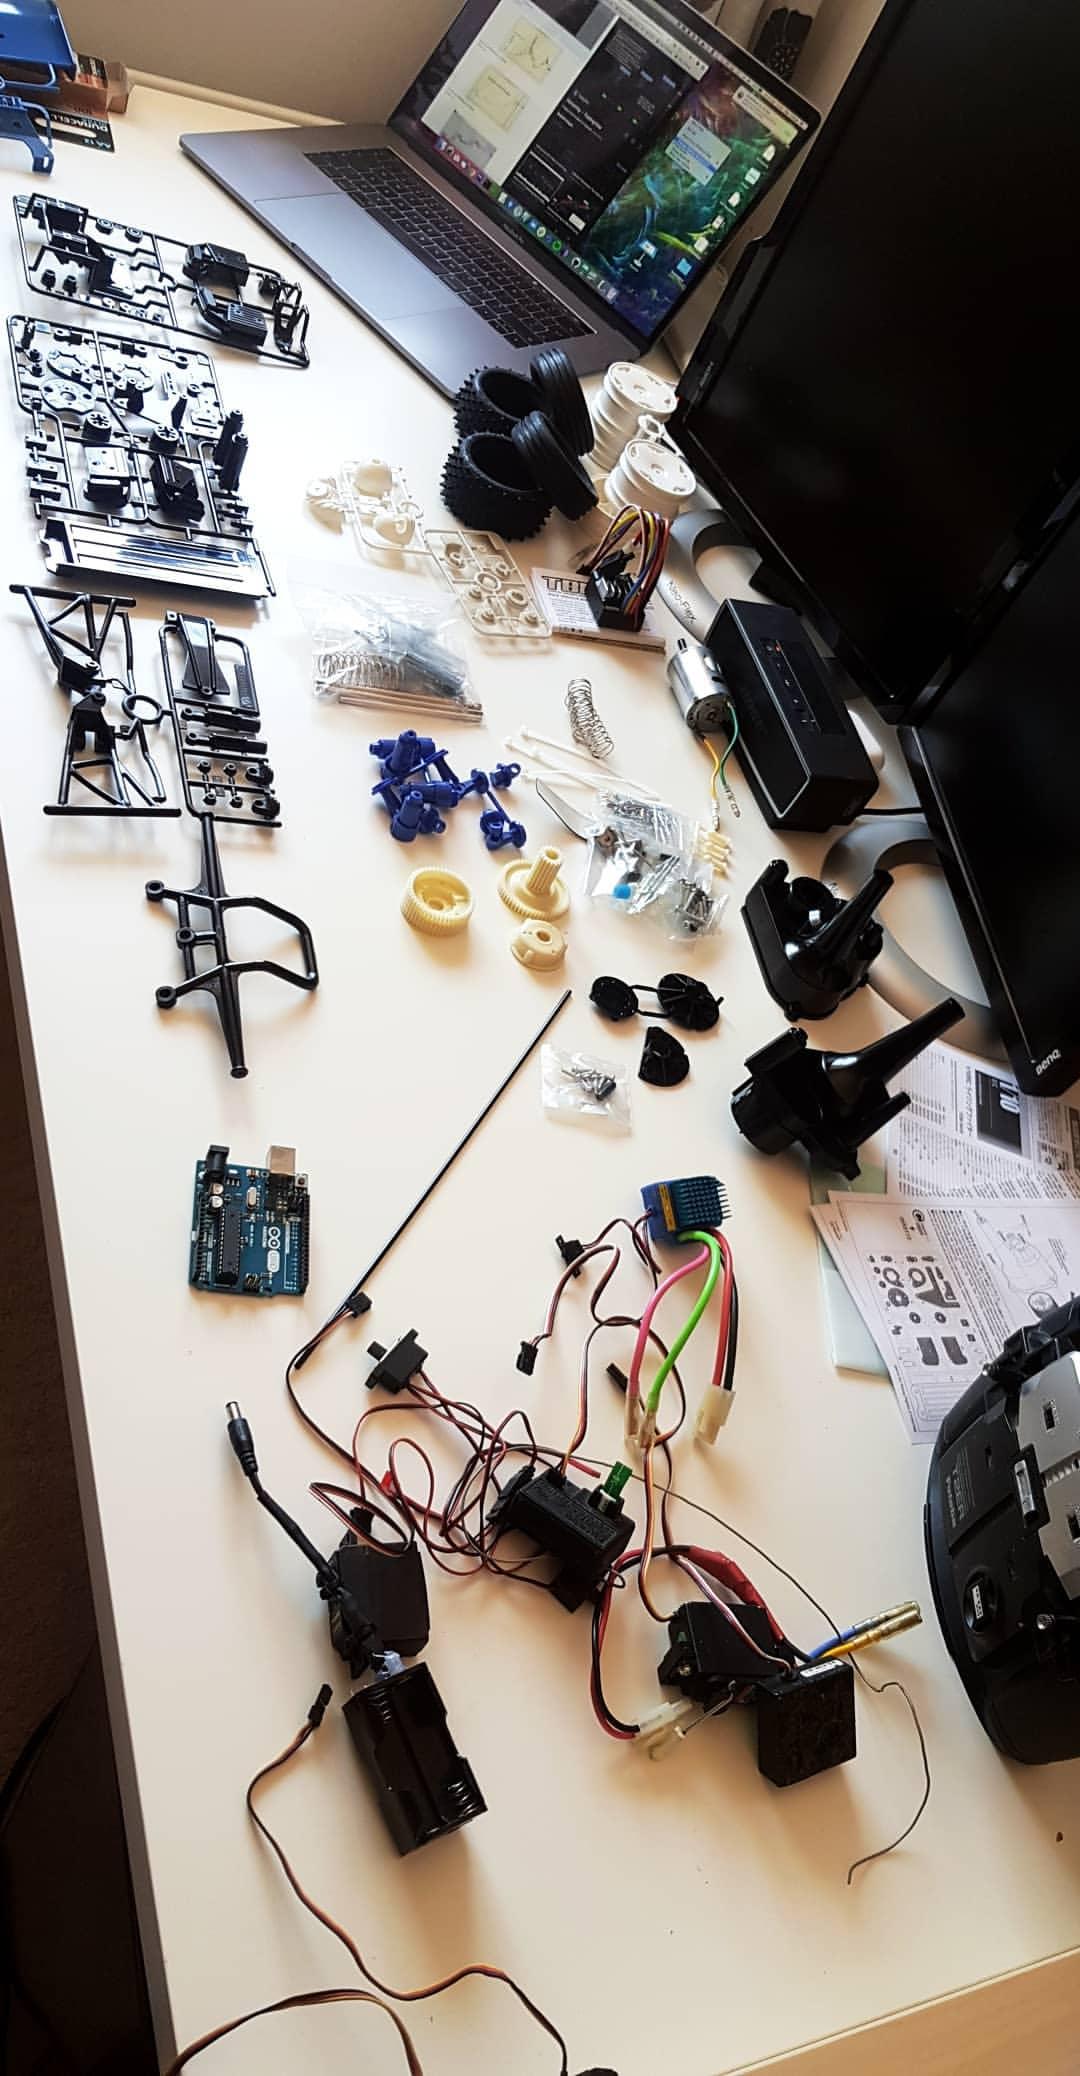
So that’s the first stage complete, I have a built and working remote control car that I can begin to adapt.
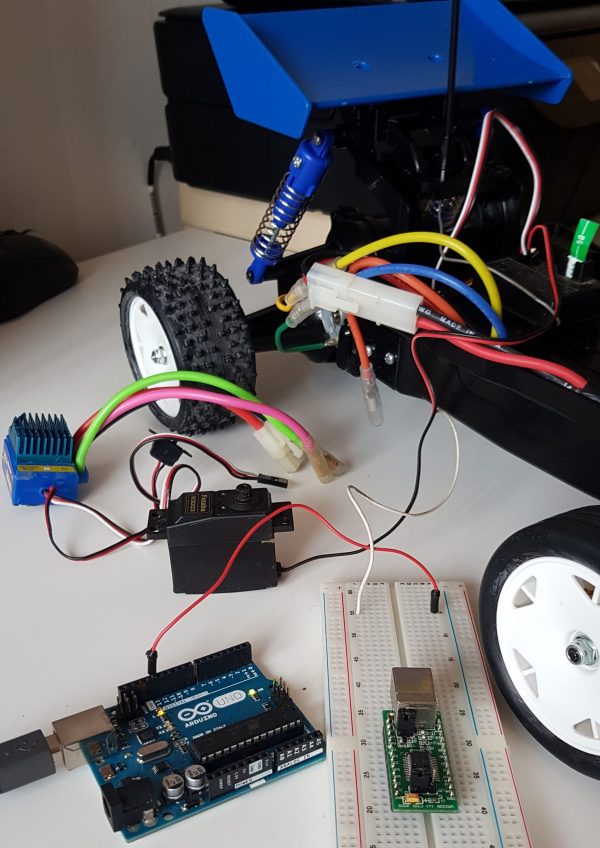
The car currently functions as normal with all the default parts an RC car has. To go through those quickly we have the receiver, this talks to the remote control and receives the transmission of data from the throttle and direction sticks. It sends this data to either the servo that controls the speed or the servo that controls the steering. Servos are small mechanical servomotors that contain a motor and gears, they perform movements such as rotating to push and pull steering rods. Most RC cars will have two by default, one works to steer and the second would control the speed via a manual speed controller, these have now mostly been replaced with electronic speed controllers so you’re more likely to only need a steering servo. The electronic speed controller does what it says on the tin, the receiver sends the speed related data to it and it tells the motor how fast to rotate, when to stop and when to put that car into reverse. Lastly connected to this is the battery that powers all of these components.
That’s all for step 1, we now have everything needed on the RC car side setup and working so we can begin to hack away with the electronics. In step two I will go into detail on replacing the receiver with an Arduino and how we can wire the servos into the Arduino so that we can program them to control what they do.
Part 2 is now available: https://dant.blog/arduino-rc-tamiya-part-2-33/
One thought to “Arduino RC Tamiya – Part 1”