Last time we replaced the standard receiver with a custom coded Arduino. This allowed us to program the car ourselves and run simple automated scripts to turn around in a circle. In this post we’ll enhance our remote control car so it can be driven over WiFi.
The Arduino board we have been using is WiFi ready, due to its secure ECC608 crypto chip accelerator. This is perfect as we can use the readily available Arduino WiFi library in our code.
Tamiya Arduino WiFi Setup
The first step is to write some basic code to check the Arduino can connect to the Internet. In the following example, we’ll be connecting through a home router but you could hotspot your phone and connect directly. (If you’re using source control remember not to add your WiFi credentials!)
#include <SPI.h>
#include <WiFi.h>

char ssid[] = "yourNetworkName";  // your network SSID (name)
char pass[] = "secretPassword";   // your network password

int status = WL_IDLE_STATUS;

void setup() {
  Serial.begin(9600);

  // check for the presence of the WiFi module:
  if (WiFi.status() == WL_NO_MODULE) {
    Serial.println("Communication with WiFi module failed!");
    // don't continue:
    while (true);
  }

  String fv = WiFi.firmwareVersion();
  if (fv != "1.1.0") {
    Serial.println("Please upgrade the firmware");
  }

  // attempt to connect to Wifi network:
  while (status != WL_CONNECTED) {
    Serial.print("Attempting to connect to SSID: ");
    Serial.println(ssid);

    // Connect to WPA/WPA2 network
    status = WiFi.begin(ssid, pass);

    // wait 10 seconds for connection:
    delay(10000);
  }

  printWifiStatus();
}

void printWifiStatus() {
  // print the SSID of the network you're attached to:
  Serial.print("SSID: ");
  Serial.println(WiFi.SSID());

  // print your board's IP address:
  IPAddress ip = WiFi.localIP();
  Serial.print("IP Address: ");
  Serial.println(ip);

  // print the received signal strength:
  long rssi = WiFi.RSSI();
  Serial.print("signal strength (RSSI):");
  Serial.print(rssi);
  Serial.println(" dBm");
}
The above code will connect to a WiFi SSID of your choice with a given password. Next it checks your Arduino has an available WiFi module and a supported firmware version. After that it tries to establish a connection. The debugging information about the connection will be recorded via the serial port output, so you can monitor the progress.
Tamiya Arduino WiFi Control
Now we have a successful WiFi connection it’s time to allow the Arduino controlled car to receive some commands and start moving.
To allow the car to receive commands we will program the Arduino to operate as a web server. It will host a web page available via the WiFi shield’s IP address that will have just enough HTML to control the digital Arduino pin inputs.
The following demo gives us the ability to steer left or right, it’s important to start simple and when confident add more control. This helps avoid breaking the car, precious household objects and people in close vicinity!
#include <Servo.h>
#include <SPI.h>
#include <WiFiNINA.h>

Servo steering;
WiFiServer server(80);

char ssid[] = "yourNetworkName";  // your network SSID (name)
char pass[] = "secretPassword";   // your network password

// Include a web page template with the UI car control buttons
const char *webpage =
#include "uipage.h"
;

int leftTurn = 0;
int rightTurn = 180;
int status = WL_IDLE_STATUS;

void setup() {
  Serial.begin(9600);

  // check for the WiFi module:
  // removed for cleaner demo, view above snippet
  // check the firmware version
  // removed for cleaner demo, view above snippet

  // attempt to connect to Wifi network:
  while (status != WL_CONNECTED) {
    Serial.print("Attempting to connect to Network named: ");
    Serial.println(ssid);

    // Connect to WPA/WPA2 network. Change this line if using open or WEP network:
    status = WiFi.begin(ssid, pass);
    // wait 10 seconds for connection:
    delay(10000);
  }
  // start the web server on port 80
  server.begin();
}

void loop() {
  // listen for incoming clients
  WiFiClient client = server.available();
  if (client) {                             // if you get a client,
    String currentLine = "";                // make a String to hold incoming data from the client

    while (client.connected()) {            // loop while the client's connected
      if (client.available()) {             // if there's bytes to read from the client,
        char c = client.read();             // read a byte, then
        Serial.write(c);                    // print it out via the serial monitor
        if (c == '\n') {
          // if the current line is blank, you get two newline characters in a row.
          // that's the end of the client HTTP request, so send a response:
          if (currentLine.length() == 0) {
            // HTTP headers always start with a response code (e.g. HTTP/1.1 200 OK)
            // and a content-type so the client knows what's coming, then a blank line:
            client.println("HTTP/1.1 200 OK");
            client.println("Content-type:text/html");
            client.println();

            // the content of the HTTP response follows the header:
            // this is where we load our HTML UI template
            client.print(webpage);

            // HTTP response ends with another blank line:
            client.println();
            break;
          } else {    // if you got a newline, then clear currentLine:
            currentLine = "";
          }
        } else if (c != '\r') {  // if anything but a carriage return character,
          currentLine += c;
        }

        // check if client request was "GET /left"
        if (currentLine.endsWith("GET /left")) {
          steering.write(leftTurn);
        }

        // check if client request was "GET /right"
        if (currentLine.endsWith("GET /right")) {
          steering.write(rightTurn);
        }
      }
    }
    client.stop();
    Serial.println("Client disconnected");
  }
}
The following code is the HTML UI template. This is what we load in the above code to allow user input for sending commands to the car. For now we only have a left and right button. Bootstrap and jQuery are included to allow for pretty buttons and Ajax request handling.
R"(
<!DOCTYPE html>
<html>
  <head>
    <meta charset="utf-8">
    <meta http-equiv="X-UA-Compatible" content="IE=edge">
    <meta name="viewport" content="width=device-width, initial-scale=1.0, maximum-scale=1.0, user-scalable=no" />
    <link rel="stylesheet" href="https://maxcdn.bootstrapcdn.com/bootstrap/3.3.7/css/bootstrap.min.css">
  </head>
  <body>
    <div class="container-fluid">
      <div class="row">
        <div class="col-xs-6">
          <button id="left" type="button" class="btn btn-default"
            onmousedown='makeAjaxCall("left")'
            ontouchstart='makeAjaxCall("left")'
          >Left</button>
        </div>
        <div class="col-xs-6">
          <button id="right" type="button" class="btn btn-default"
            onmousedown='makeAjaxCall("right")'
            ontouchstart='makeAjaxCall("right")'
          >Right</button>
        </div>
      </div>
    </div>
    <script src="https://ajax.googleapis.com/ajax/libs/jquery/1.12.4/jquery.min.js"></script>
    <script src="https://maxcdn.bootstrapcdn.com/bootstrap/3.3.7/js/bootstrap.min.js"></script>
    <script>
        function makeAjaxCall(url) {
            $.ajax({"url": url});
        }
    </script>
  </body>
</html>
)"
With the above loaded onto your Arduino and running you should be able to navigate to the Arduino cars IP address in your browser and see the UI.
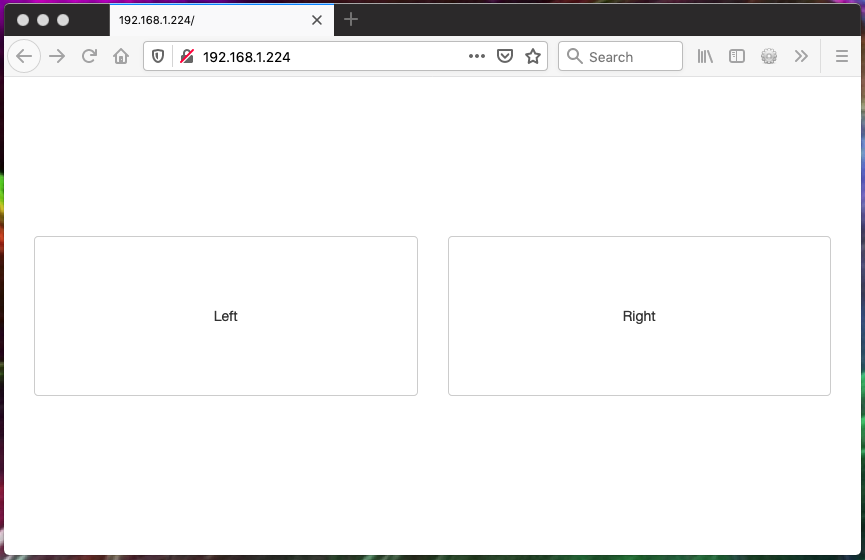
In the above, clicking on either the left or right button will send a HTTP request to the running web server. The Arduino reads this request and converts the url path into an action that changes the Arduino pin value and the servos move. If all has gone well you should be able to steer your RC Tamiya via the Arduino through the web served UI!
Summary
Tune in for the next post where we’ll add more remote control functionality. At that point it gets a bit more complex as you try to mimic the remote control logic of an actual RC car. For instance steering straight on release of the left or right button and being able to stop and reverse.
Before I go, here’s a quick demo of forward and reverse working that will be coming very soon! Although I need to find a better way of sharing my phone screen and recording at the same time…
One thought to “Arduino RC Tamiya – Part 3 – Adding Wifi Control”